PRODUCTS
Location:Home > PRODUCTS > Force-measuring instrument ser > Test Board Series >
Function:
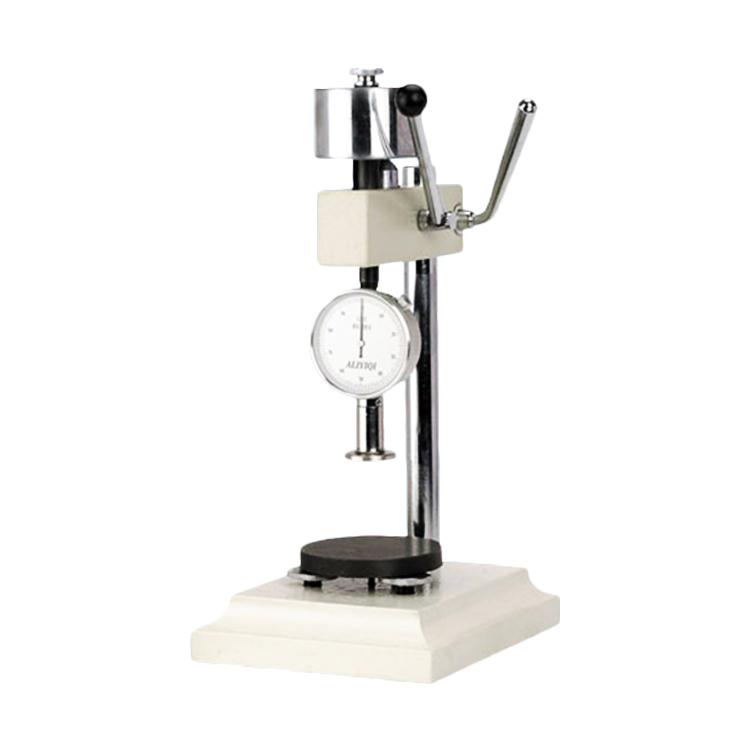
LAC shore hardness tester can be assembled on the test support of Lac hardness tester produced by our company, which can improve the test accuracy.
Characteristic:
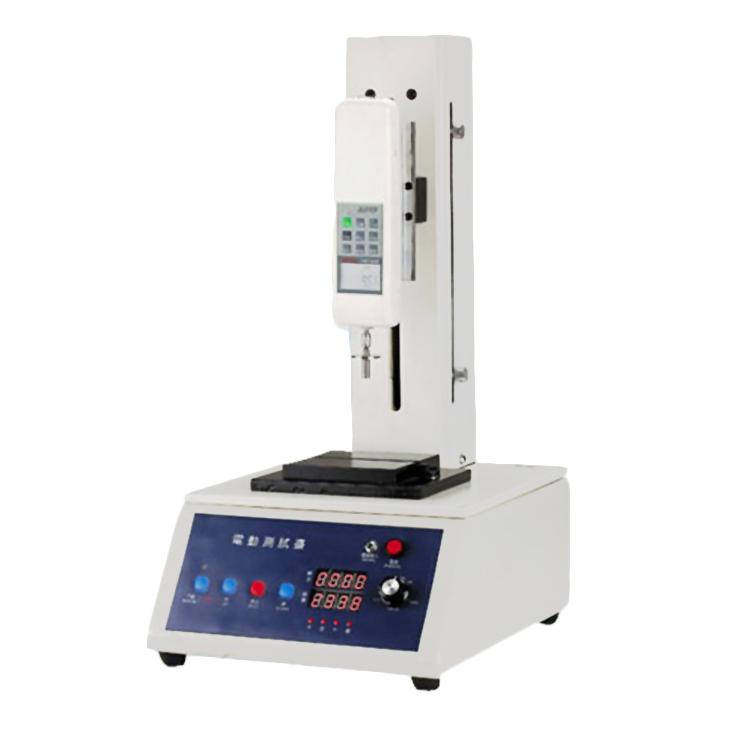
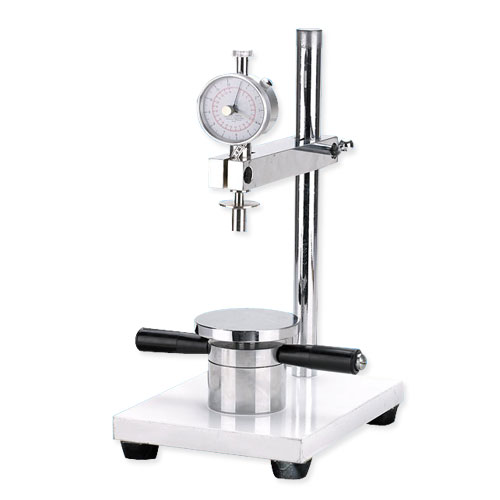
LAC hardness tester test bracket is a new generation of shore hardness test bracket developed by our company. Its test principle is more scientific, and its structure is more compact and reasonable, which further improves the stability and accuracy of the test. The traditional glass platform is replaced by the metal platform with high hardness, which effectively avoids the fragile disadvantage of the glass platform.
Note: the hardness tester in the figure needs to be purchased separately.
Installation method
(1) the test stand should be placed on a stable and smooth worktable, and then adjust the height of the cross arm. During operation, loosen the bakelite star handle with the right hand, lift the cross arm with the left hand to make the bottom of the hardness tester mounting rod about 110mm away from the circular platform table, and tighten the bakelite star handle (the hardness tester mounting rod should be aligned with the center of the circular platform).
(2) Unscrew the dust cap on the upper end of the hardness tester, then screw the hardness tester into the mounting rod of the test frame and tighten it (do not use too much force during tightening, otherwise the hardness tester will be damaged). After tightening, if the surface of the hardness tester is not aligned, the operator can loosen the azimuth adjustment knob on the top of the weight, then rotate the hardness tester to the ideal angle and then tighten the azimuth adjustment knob.
(3) Loosen the bakelite star handle on the cross arm, and adjust the height of the cross arm again with your left hand until the bottom surface of the presser foot of the hardness tester is about 10mm away from the circular platform of the test frame, screw down the handle of the test frame to make the presser foot fully contact with the circular table, and slowly rotate the two fine-tuning handwheels under the circular table until the hardness tester displays 100 degrees (+ 1 degrees). At this time, the installation and commissioning of test stand and hardness tester are completed.
